Photo credit: My Subscription Addiction
Did you know that a well-designed, informative packing insert (that is, an information card for the contents of that month’s box) can earn you, on average, $38 more per subscription? It’s true! When you put effort and care into your box presentation, people notice. That makes them feel like you’re looking out for their best interests as customers – and helps develop customer loyalty, which builds customer LTV.
Skeptical? Check out this testimonial from a BookCase.Club customer:
“[The box] always comes with a nice insert that tells a little about the book and is usually signed and has a nice little handwritten note in the insert. I have had nothing but great customer service!”
When we hear the words “customer service,” we usually interpret that to mean solving problems the customer has encountered – not the proactive work we put in to enhance the customer’s experience in the first place. But that kind of work is the biggest part of supporting your customers!
Inserts show that you care about the subscriber’s experience. When subscribers receive a box with an insert, they are 9% more likely to leave positive feedback (that is, a 4-5 star review) on your Marketplace listing too.
In today’s guide, we’ll discuss:
- What to include in an informational packing insert
- Alternative types of packing insert
- Popular graphic design and printing services
- How to build an informational insert step-by-step
- Options for your paper stock
So What Do You Need?
To build a strong packing insert, you’ll want to include information about the box’s monthly theme, products, and where to find your brand on social media. In other words, what you’re giving away and why. Give your subscribers a glimpse of your thought process in curating every box! You don’t want a subscriber thinking you threw a bunch of random items in a box and sent it off.
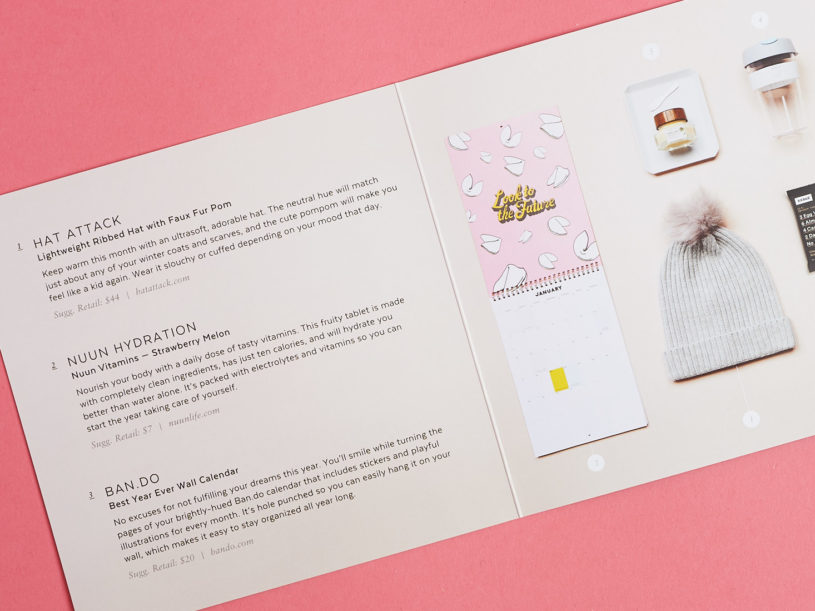
While everyone’s subscription is different, there are some common practices among the most highly reviewed boxes (that is, boxes with a Net Promoter Score of 9-10 on a 10-point scale) as to what should be included on an insert. Depending on the size of your insert, including some details about each product in a specific month’s box is paramount. Here are some ideas for copy…
- Tell a story about your brand and/or the theme of that month’s box. A great story helps to tie together all the products in your box, engages your subscriber, and helps the subscriber relate to your brand.
- Give a short explanation of each item in the box and any instructions for use, if needed. Your subscribers do not always know why you included an item. Take the guesswork out and show why the product is an important part of the box. Educating your subscribers increases the likelihood of a positive review.
- Include all your social media information and website address. You want to build a community, so let these folks know where to find you! You might encourage further engagement with a specific hashtag, or even set up a contest around that hashtag.
Here’s a unique example from the Naples Olive Oil Company, a recent graduate of Cratejoy’s Subscription Box Accelerator Program:
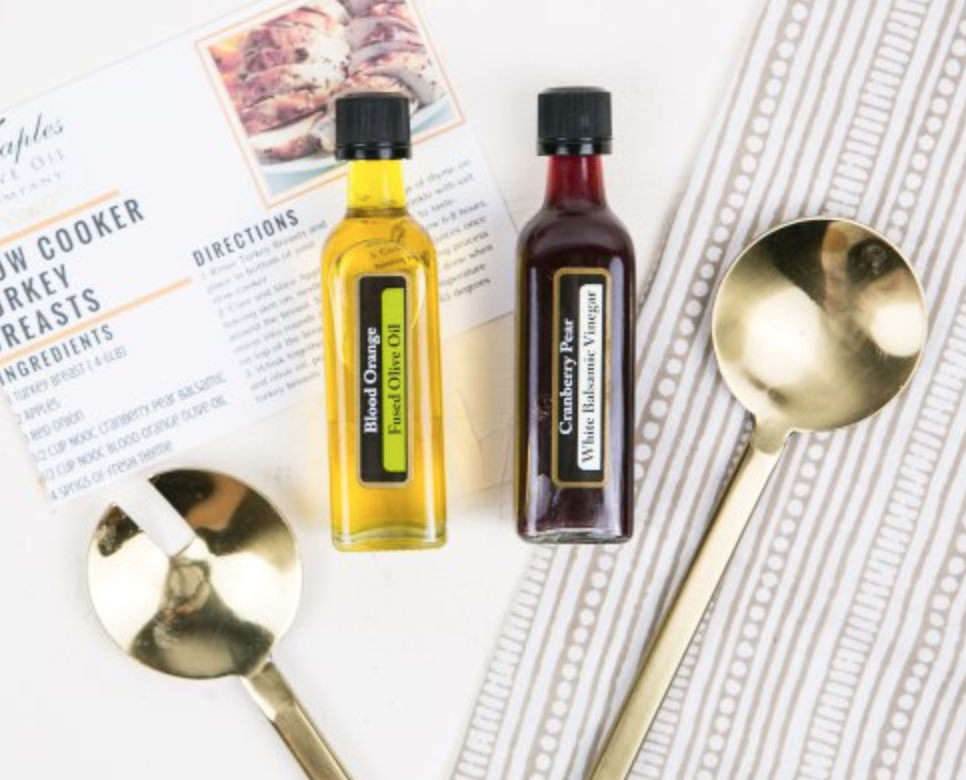
Because Naples Olive Oil Company specializes in artisanal, infused oils and vinegars, they include recipe cards as box inserts. These inspire and guide their subscribers to expand their culinary repertoire easily – by, say, making slow cooker turkey breasts.
Different Types of Inserts
At a minimum, we recommend including in your box an informational card with details about that month’s contents. This card should also include links to your social media accounts and a CTA to join your brand community online, as well as MSRP if part of your value proposition is the idea of a bargain.
That being said, you do have other options to add onto the experience of opening your box. Check out some ideas below!
- Discount offers: Depending on your profit margins and brand connections, it might be a great opportunity for you to include a coupon code in your box. Maybe you offer 5-10% off for customers who upgrade to a prepaid subscription or give your subscription as a gift this holiday season. Or you cross-promote a vendor you’ve included in the box, so your customers receive a discount for their brand.
- Unique guides: This is most helpful for experience-based subscriptions, like crafting, cooking/baking, or book boxes. Naples Olive Oil Company does a great job of this by including recipes in each box, as does fellow Cratejoy merchant Takeout Kit. Many book subscriptions include a discussion guide personalized for each month’s book.
- Handwritten notes: Including a card or note in your own (or a partner’s) handwriting can go a long way to making customers feel cared for. That goes double for first-time subscribers, who don’t have any preconceived notions of your box yet. For example, Unplugged Book Box includes a handwritten, Xeroxed letter from the author of that month’s featured book. Andiamo, a fellow Accelerator graduate, includes a handwritten note from their founder in a subscriber’s first box.
- Bonus items: Everyone loves free stuff! Including sample-sized bonus products could be an excellent way to win over customers and conduct research on future brands to partner with.
Have you decided on the type of insert you’d like to produce? Great! The next step is to choose your graphic design platform.
Choosing Your Design Software
While the design gold standard is Photoshop, don’t ignore low-cost online software to create attractive, professional-looking graphics for printable inserts. All three of the sites outlined below offer free plans, but you’ll have access to a greater number of design options with their business plans, so we’ve included pricing as well. Take a look below!
Canva

Canva seems to be the internet’s favorite DIY designer. They offer a series of design tutorials for beginners and a ton of free templates for all different asset types, from social media graphics to printables to resumes. (Since it’s so popular, our tutorial below uses Canva.)
An annual plan with Canva for Work, their business side, will run you $9.95/month, while their month-to-month plan will cost $12.95/month.
Easil

Like Canva, Easil offers a ton of templates for designing graphics. The site also offers some exciting tools at their disposal, such as an online GIF maker and in-house printing.
For their pro plan, you’ll pay $7.50/month, while their “Edge” plan (for completely unlimited access to features) costs $59/month.
DesignBold
The biggest benefit you’ll find with DesignBold is the sheer volume of their massive stock library. You’ll never need to worry about image copyrights again when designing graphics for printable box inserts, social media posts, or other media.
A professional plan with DesignBold costs $19/month and offers a free 30-day trial.
GotPrint

As you guessed from their name, GotPrint offers custom printing services for all kinds of documents: business cards, flyers, bookmarks, window and floor decals, banners, stickers, door hangers, you name it. They have 13 varieties of paper stock to choose from and an in-house design team to assist you in developing your insert. For an informational insert, one of their postcard sizes may be the best option (depending on the size of your box, of course!).
Pricing for GotPrint varies by project and quantity.
How to Create an Insert Using Canva
As we mentioned before, we’ll use Canva for this tutorial, simply because it’s so popular among small businesses.
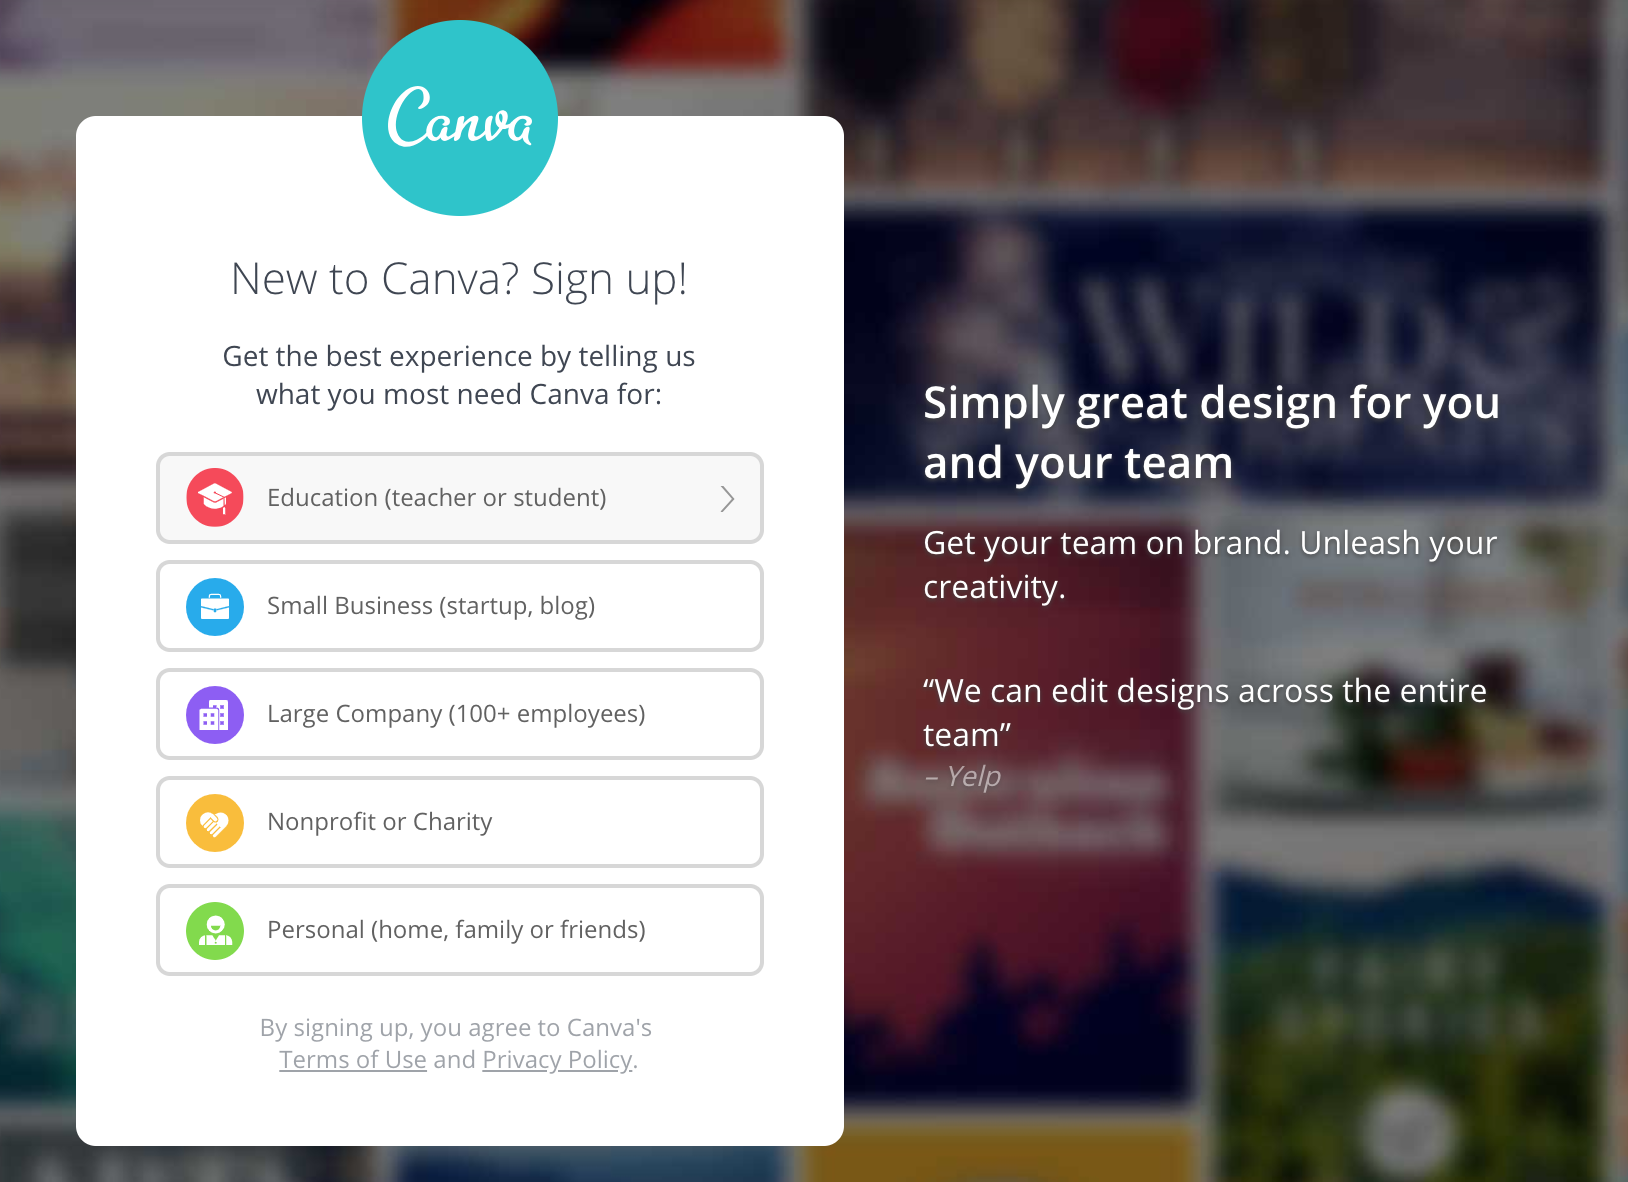
Before you can create any projects, of course, you’ll need to create an account. Select your reason for using Canva – “Small Business” – and sign up with a Google account or other email address. (See screenshot below.) Once you’ve done this, you should be good to go!
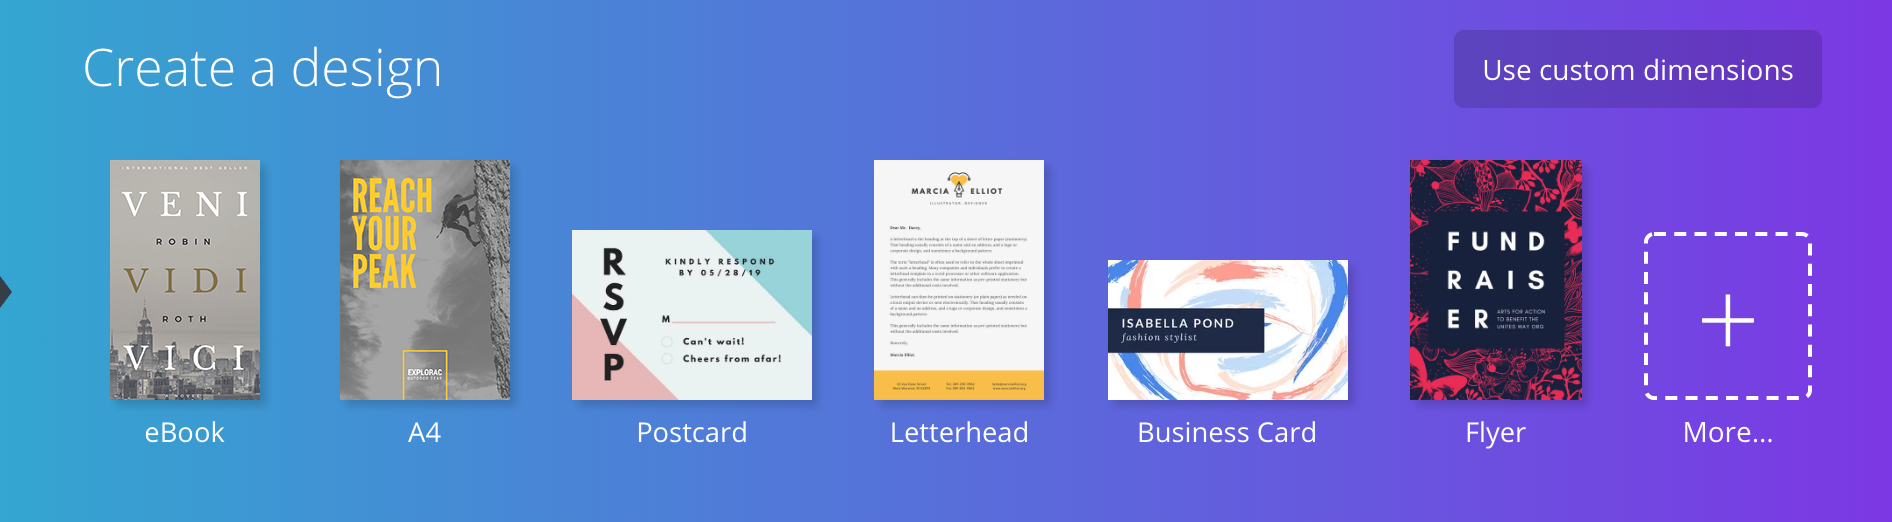
Start a new project. To do this, click the bright green “Create a design” button in the top left corner, then search for the best template for your insert. Canva organizes its gigantic library of templates into easily searchable categories like Social Media Posts, Blogging & eBooks, Events, and Ads, but if you’re feeling overwhelmed, you can always search by keyword as well.
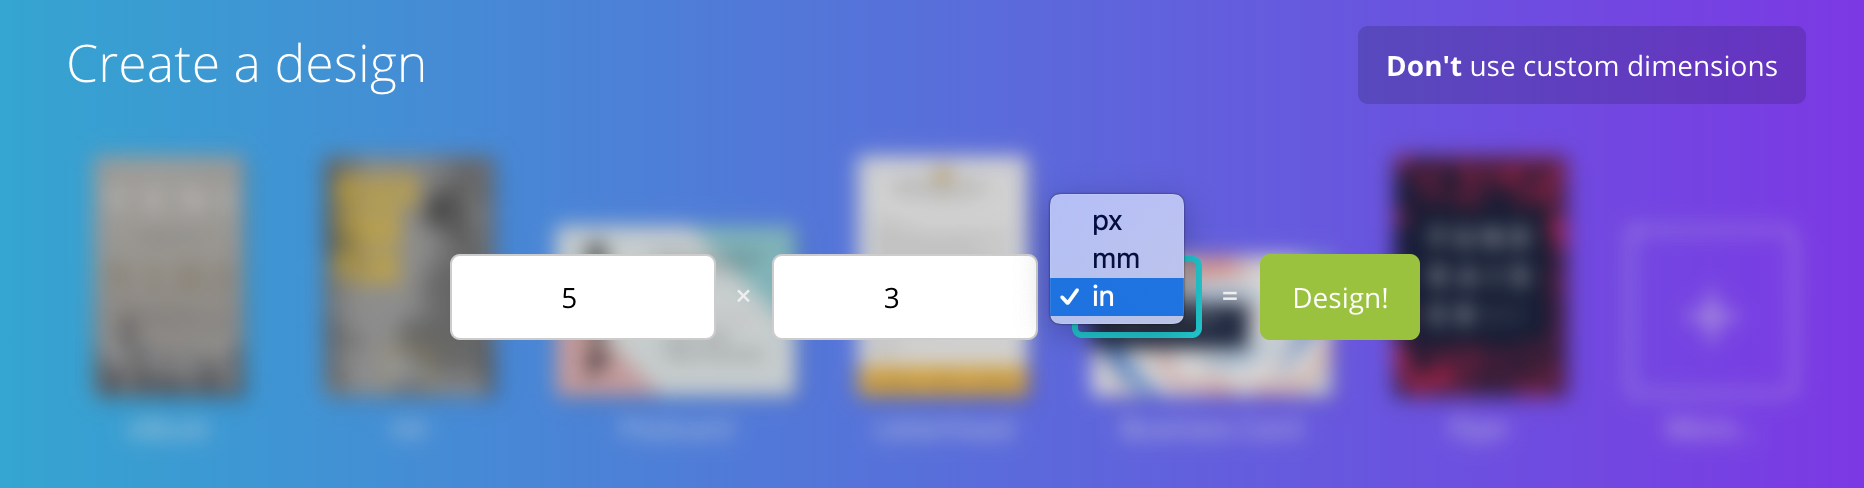
You can also enter custom dimensions (in your choice of pixels, inches, or millimeters) for your design, if you want to start with a blank slate entirely. Here’s an example:
Today, however, we’ll base our insert on a pre-existing template from Canva’s library. Since our insert is the size of a postcard, let’s select the Postcard template.
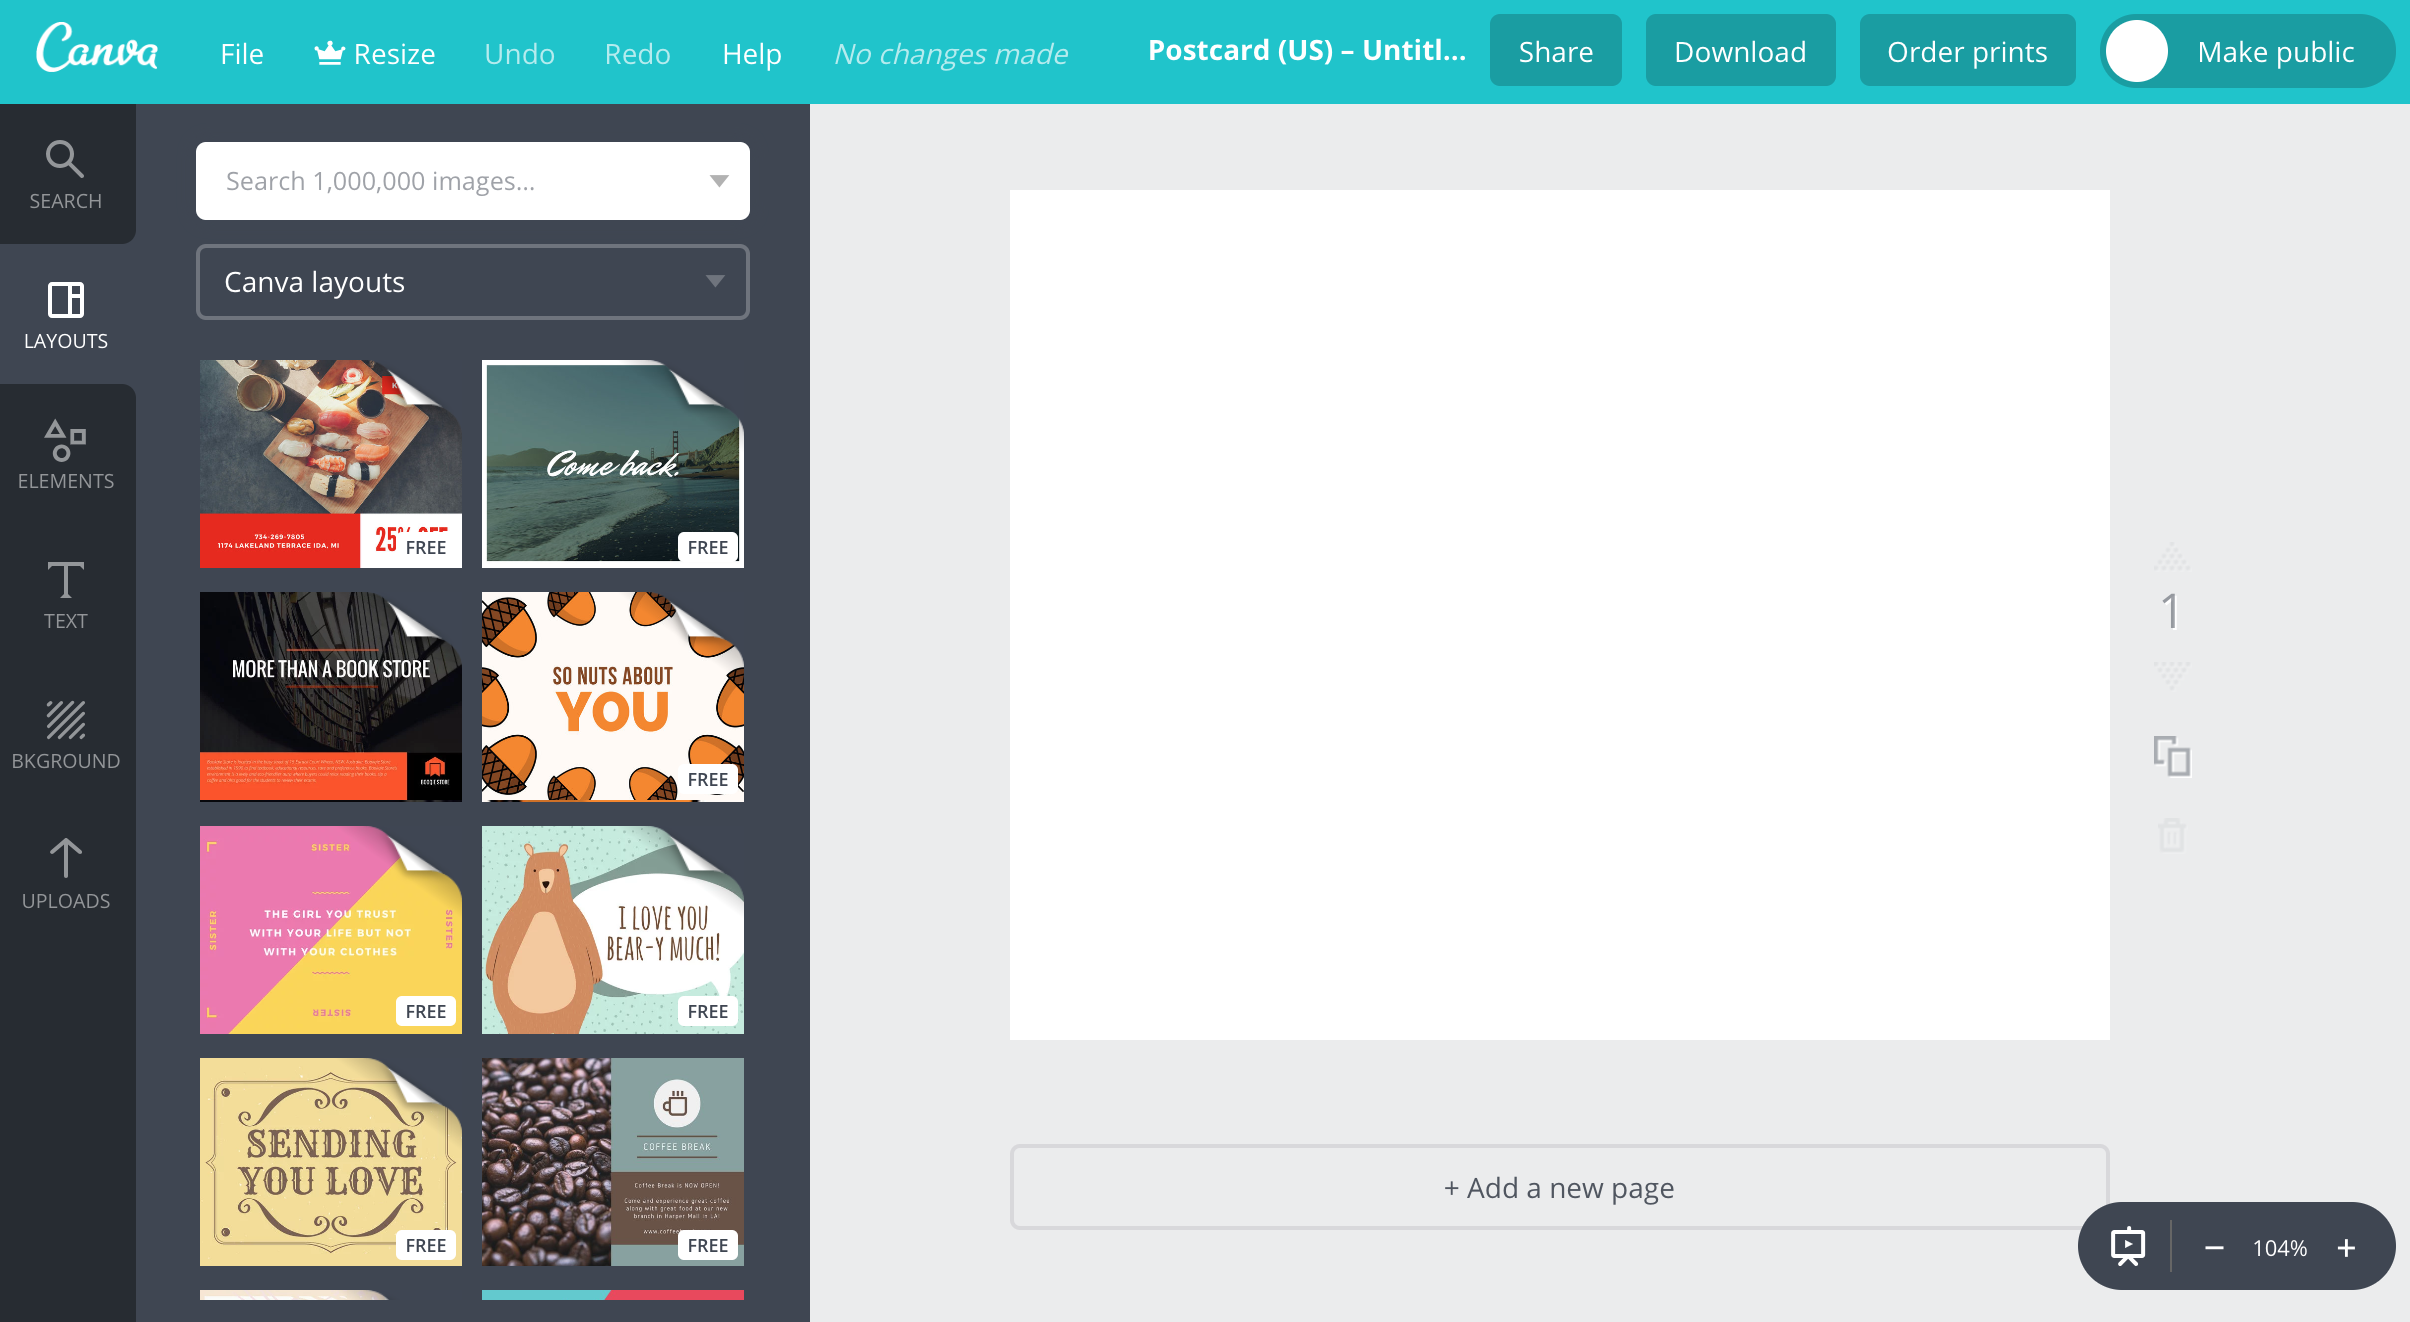
Below, you’ll find a screenshot of the Canva project designer. See the vertical lefthand menu? That’s where you’ll select your template layout; add elements like shapes and lines, drawings, grids, stock photos, and charts; insert text boxes; change the background color; and upload your own materials to customize your design.
Here’s a sample template below, originally designed for a wedding RSVP. We’re going to redo the text to turn this simple invitation template into an informative packing insert!
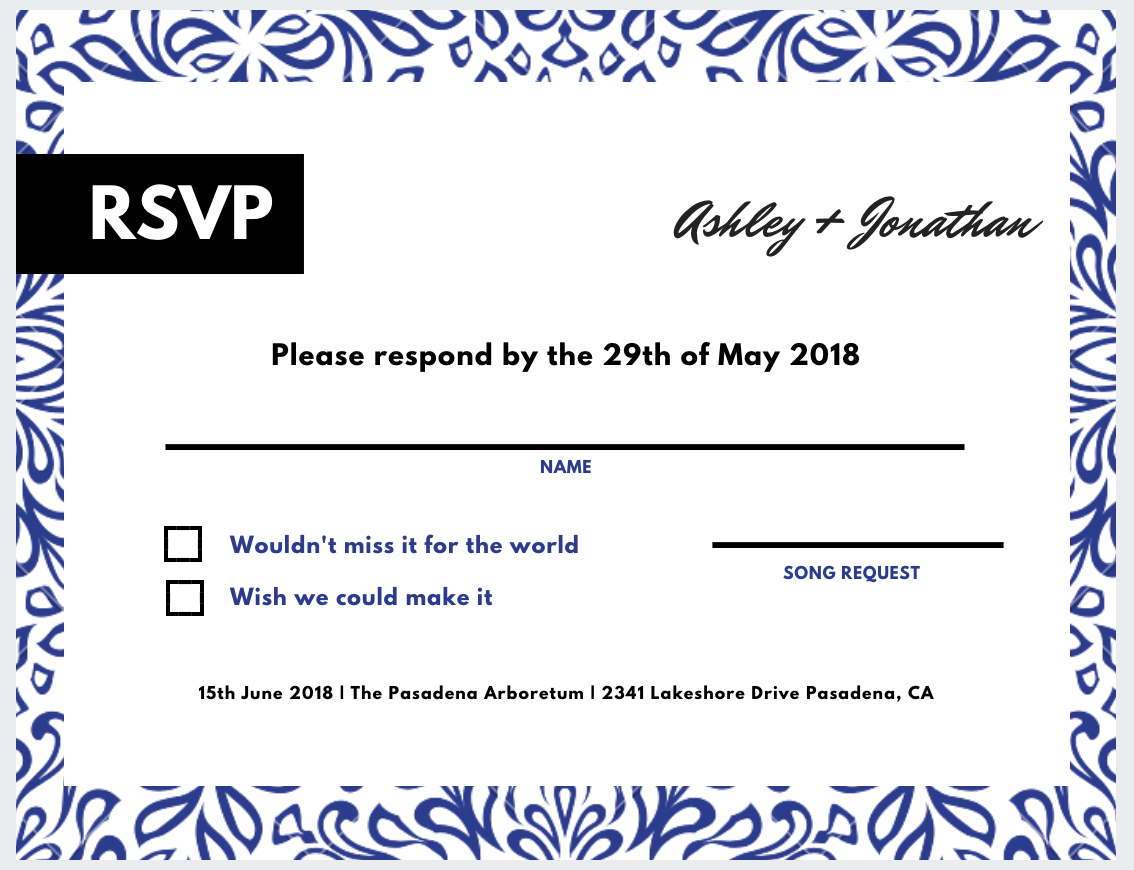
To edit, click on the element you want and rewrite (or change the font, or click and drag to change the element size, or whatever else feel right for your branding). Keep in mind the action menu at the top of the design window; this is where you’ll make all your visual changes.

Every component of the design is editable, from its color to size, text appearance, or shape. Just click on the element you want to change and experiment!
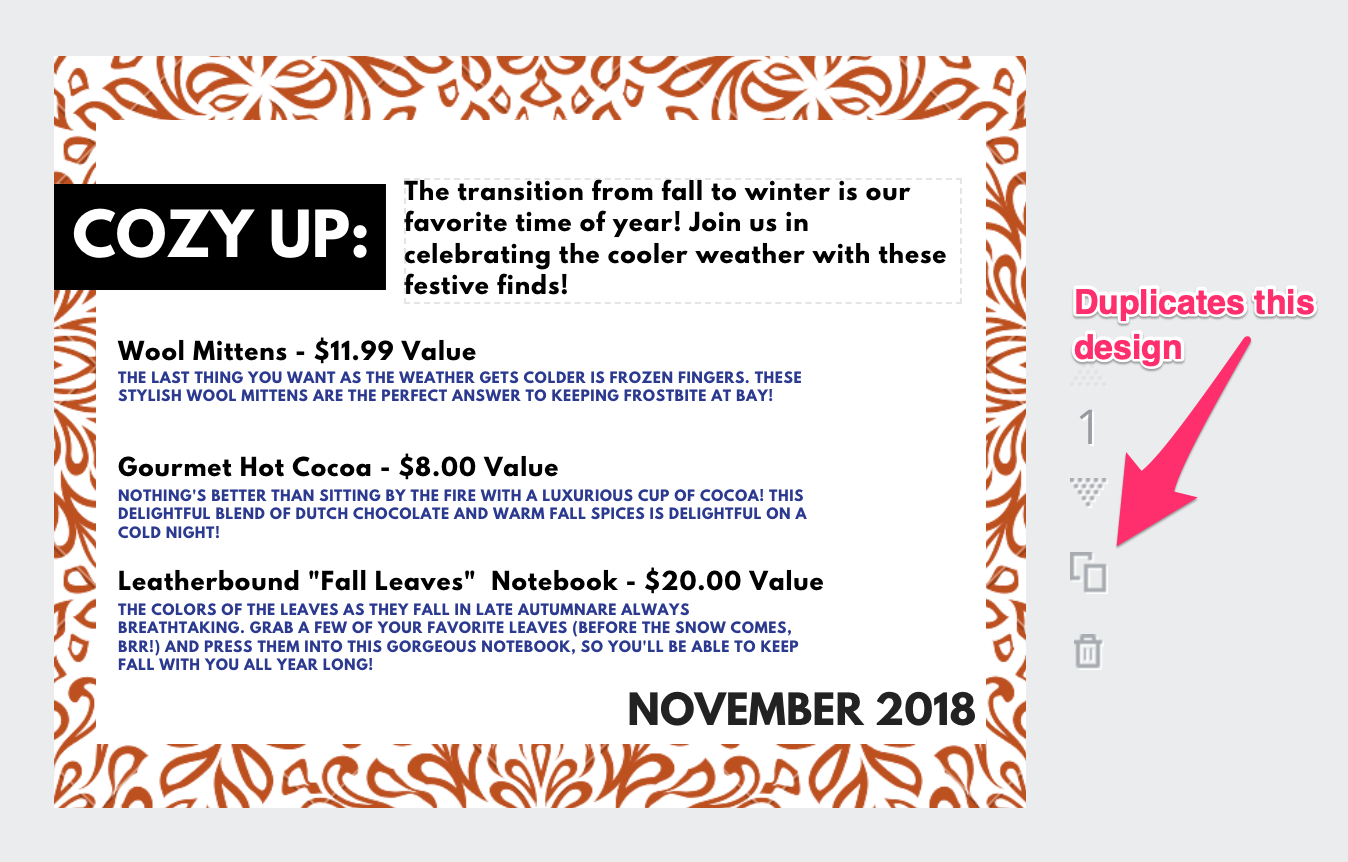
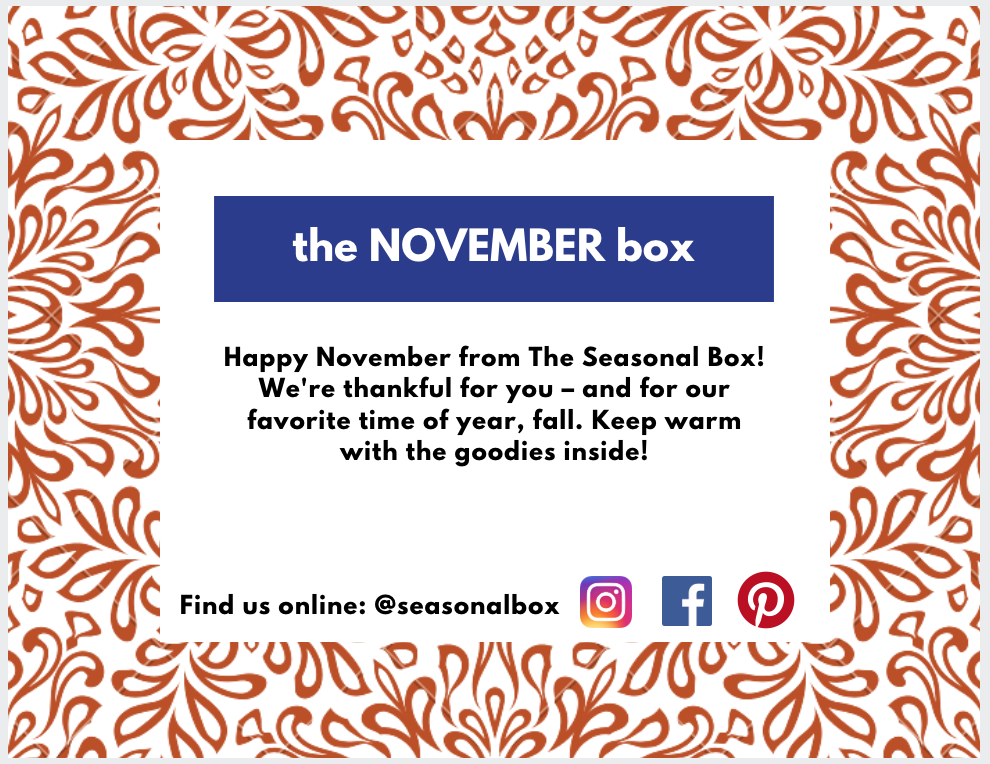
For our purposes, we’re primarily concerned with updating the text and deleting the lines/checkboxes. Also, since this month’s box has an autumnal theme, we’d like to change the color of that fun blue border to something more fitting. Take a look at our finished product:

For the other side of your insert, we recommend including your logo, your social media info, and an engaging blurb about your box. To maintain the same visual theme, click on the middle icon on the right of your template (see below). This will make a new copy of your card, which you can then edit.
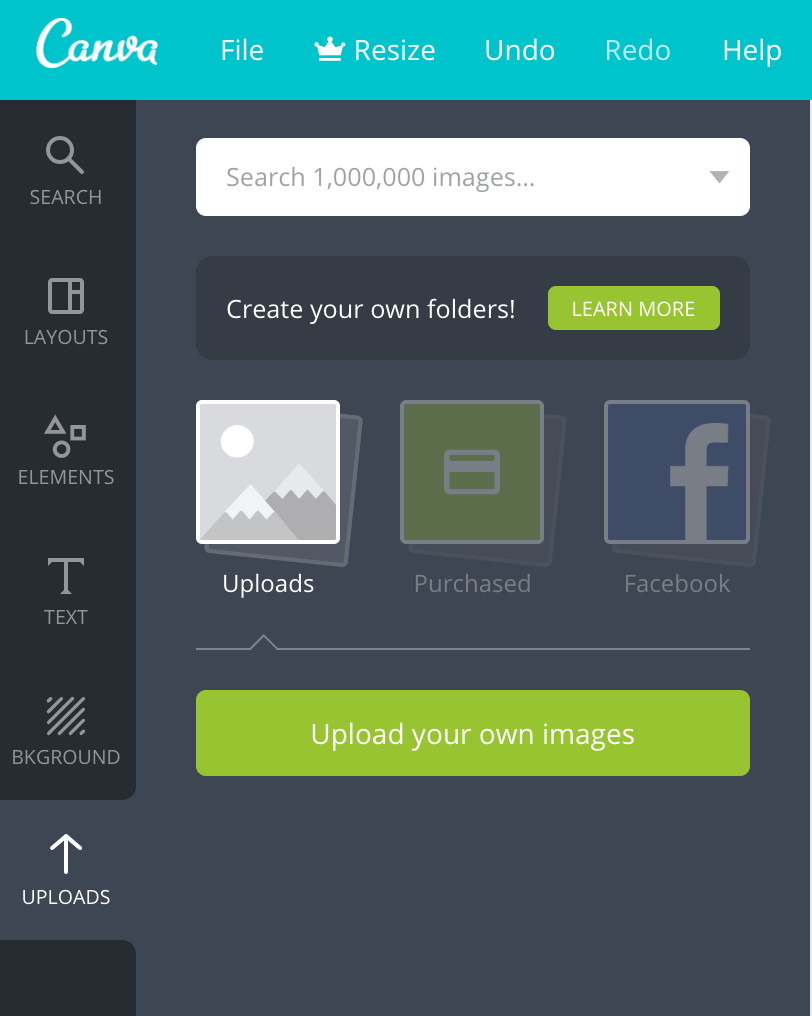
To include social media icons on the other side, however, we’ll need to upload images of each one.
Click on the Uploads tab on the left sidebar, then click the bright green “Upload your own images” button. Select the images you’d like to upload as usual.
After that, click on the image you want and Canva will open the image on top of your template. Resize the image and move it where you’d like, and you’ll be all set!
Take a look at the back side of our insert:
When both sides of your insert look just how you want, download your project as a JPG. Because this project contains two “pages” (sides of the insert), Canva downloads it as a ZIP file automatically; you’ll need to open the file to access the JPGs.

After that, you can print these out at home or upload your JPG files to a printing service to outsource! Keep in mind, though, that regular printing paper will not offer the sheen of professionalism or curation that you want your subscriber to notice when they open the box.
Types of Paper Stock

We recommend coated paper stock – ideally, aqueous coating – for promotional inserts, as the coating will protect your design from spill damage and the stock will, overall, be sturdier. The type you want is also called “cover stock”; it’s a similar weight and sturdiness to a paperback book cover.
To be clear, ordering coated paper stock does not mean that your insert will necessarily be shiny. It only means that your design is more protected from potential wear-and-tear in shipping. Coated paper stock comes in three types:
- Glossy: If you do want your packaging insert to look super shiny, this is the way to go. Glossy paper costs less but is also less bulky and opaque, so it may feel or look a little flimsier. There’s a greater chance of your design showing through on the other side of the insert.
- Satin: The halfway point between glossy and matte.
- Matte: No shine here – this is the opposite of gloss. Matte coating costs more, but is heavier than glossy paper, so your insert will feel sturdy. It’s also the most opaque out of the three types; there’s no chance of your design showing through on the other side.
If you use a service like GotPrint, Vistaprint, or MOO to print your insert design, you’ll see that the different types of paper stock are listed by thickness (e.g. “14pt”). For every “point” a paper is thick, that represents .001 of an inch. So a 14pt. paper stock – the standard size for promotional material – means that your insert would be 0.014 inches thick, whereas 16pt. or 18pt. paper stock – often deemed “premium” paper – would be a little heavier.
The Bottom Line
In the end, of course, choosing the right paper stock – or what type of promotional insert you’d like to include – is a choice only you can make. You know your box best. However, we recommend you include at least the info we’ve outlined above, with ≥14pt. cardstock with coating to keep your colors bright, your design untouched, and your insert sturdy enough to withstand any issues that might occur in shipping.
After all, your box offers an amazing value for subscribers! Let them see that as clearly as possible. You’ve got this!